Posts
2016 November Miles
- cycle: 184 miles
- run: 25 miles
Snow during the last week of the month held my total runs and rides down. Mid-month treated me to a warm weather and an outing on the freshly-cut Vertigo Trail, and I tip my hat to the master trail cutters. It is one blast of a good run. On a Tuesday late afternoon after opening weekend, a short line developed at the top providing a picture opportunity while I caught my breath before heading down. Just over a day later the temperature dropped and a light snow shower arrived. Once the trail dries out I’ll return to Vertigo.

Convert Old Skyrim Mods for SE
Article #2 in a 10-part series.
- 1 - Skyrim Special Edition Released
- 2 - this article
- 3 - How to Disable Random Dragons in Skyrim
- 4 - Convert Black Sacrament Armor to SE Step-by-Step
- 5 - How to Update Meshes for Skyrim SE
- 6 - Werewolf Meter Papyrus Script Overview
- 7 - Skyrim SE - XPMSSE: Modify Weapon Positions
- 8 - Show Your Tail With Campfire Cloak In Skyrim
- 9 - Skyrim Frostfall and Survival Armor Edit for Warmth
- 10 - Frostfall SE with SKSE64
This article assumes the reader has basic knowledge of mod creation. Beginners should consider trying some Creation Kit tutorials first. For step-by-step examples, see “Convert Black Sacrament Armor to SE” and “Update Meshes for Skyrim SE”.
When transferring existing plugins from Skyrim 2011 to Skyrim Special Edition (SE), there are a few important changes to consider. Many mods should convert without too much effort, but be aware that some mods may require extra editing. Mods depending on SKSE or SkyUI require advanced skills, and mods with dirty edits or other issues may need special attention. Mod author, Arthmoor, outlined changes for Skyrim SE on AFKmods:
- Animation files (.hkx) need updating using tool included with SSE Creation Kit (CK).
- BSA files need repacking using the archive tool included with CK.
- Some meshes (.nif files) may need updating.
- Textures using .dds should work. Targa .tga-files will not work.
- Normal maps may need to be updated using DXT5 compression.
- Plugin ESP files should be checked and updated by loading and saving in SSE CK.
Creation Kit may be obtained at bethesda.net by using their manager. Install CreationKit to your Skyrim Special Edition folder. If a plugin has multiple masters, don’t forget to edit CreationKit.ini under General section:
bAllowMultipleMasterFiles=1
bAllowMultipleMasterLoads=1
Player’s notes
If an author has long since disappeared, players may convert mods for personal use. Stick to simpler mods and realize some conversions may require practiced editing skills. Watch out for plugins that edit waterflow, NPCs, or lighting. You may want to use TES5Edit check-for-errors feature first. Even though some errors or dirty edits may be fine in 2011 Skyrim, these errors may break or cause other issues in Skyrim SE. Best to let original author fix these issues.
Please do not distribute mods without author’s consent.
BSA repack
Old archive files are not compatible with SE. If the plugin includes an archived BSA-file, it must be packed with the new archive tool included with CK. Extract the contents of the old BSA using BSAopt into an empty folder. Load the existing BSA, select all contents, choose use folder button, and unpack. Check for meshes, FaceGen data, or animation files that may need updating (see below).
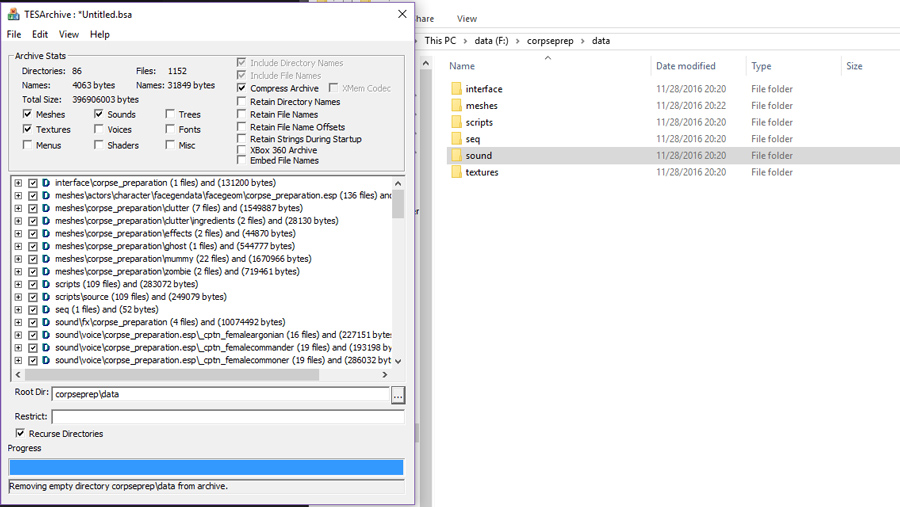
The new CK archive tool, archive.exe, is found in \Skyrim Special Edition\Tools\Archive\ folder. If your loose files are located somewhere other than in “Data” folder, change the Root Dir to where your files are located. Load the extracted contents folder using Edit->Add Directory and make sure everything has a checkmark (Edit->Check All). Check compression if you’d like. Choose File->Save As to archive and use the same name. Verify folder structure of archived file using BSA Browser.

screen shot above is from a different BSA browser
Clean up loose files and test in game.
Continue reading...
2016 October Miles

Goal met. 322 cycle + run miles improves upon September miles, and I’m feeling stronger on recovery road!
American Fork Canyon located near Mt. Timpanogos provides beautiful scenery and varied terrain for hikers, cyclists, dirt bikers, and horse-back riders. Trails pierce through open meadows, meander through aspen, traverse rocky ridges, and twist through evergreens. A trail may go from dry and dusty beneath open sky to moist rambling among dense trees within a short distance. October, of course, provided color to the many gorgeous views. Sitting on the Ridge Trail and gazing over at Timpanogos encourages a quiet moment, just watch and take it all in.


Skyrim Special Edition Released
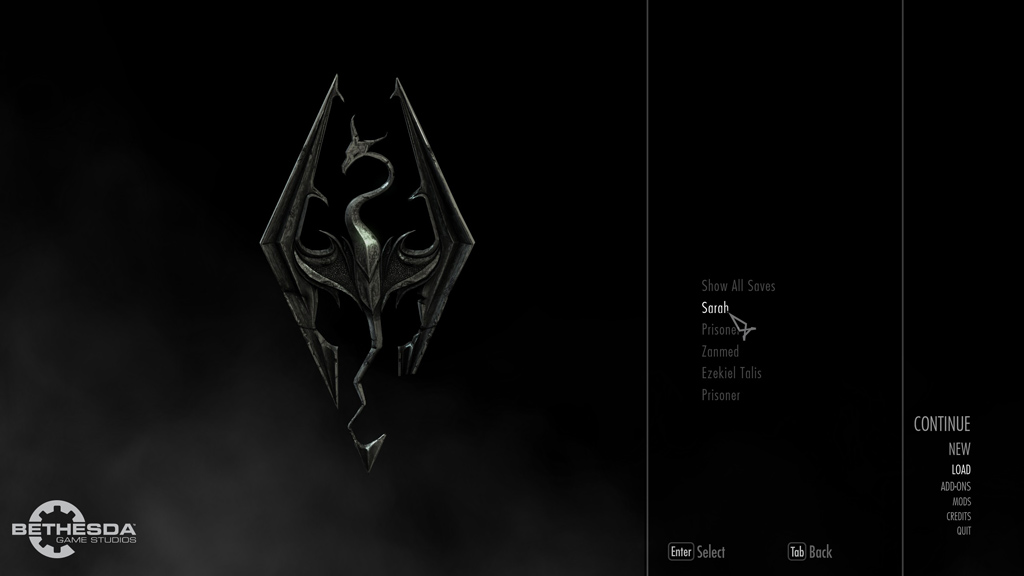
TES V: Skyrim Special Edition (SSE) installs as a new game in Steam for those with all DLCs (Dawnguard, Hearthfire, Dragonborn). This updated game is 64-bit and includes improved weather, atmospheric effects, water shaders, dynamic depth of field (DoF), and bunches more flora. And finally, rain doesn’t pass through the roof (graphics settings option)! The improvements are nice, and leave me less inclined to add ENB. Lighting still needs attention, though. Besides management of mods through bethesda.net, the interface includes character management meaning each character gets its own series of saves. It’s also organized into modded and un-modded game saves. It’s nice for switching characters without restarting the game or manually managing folders, but the save files are coded making it more difficult to know which belongs to what character outside of the game.

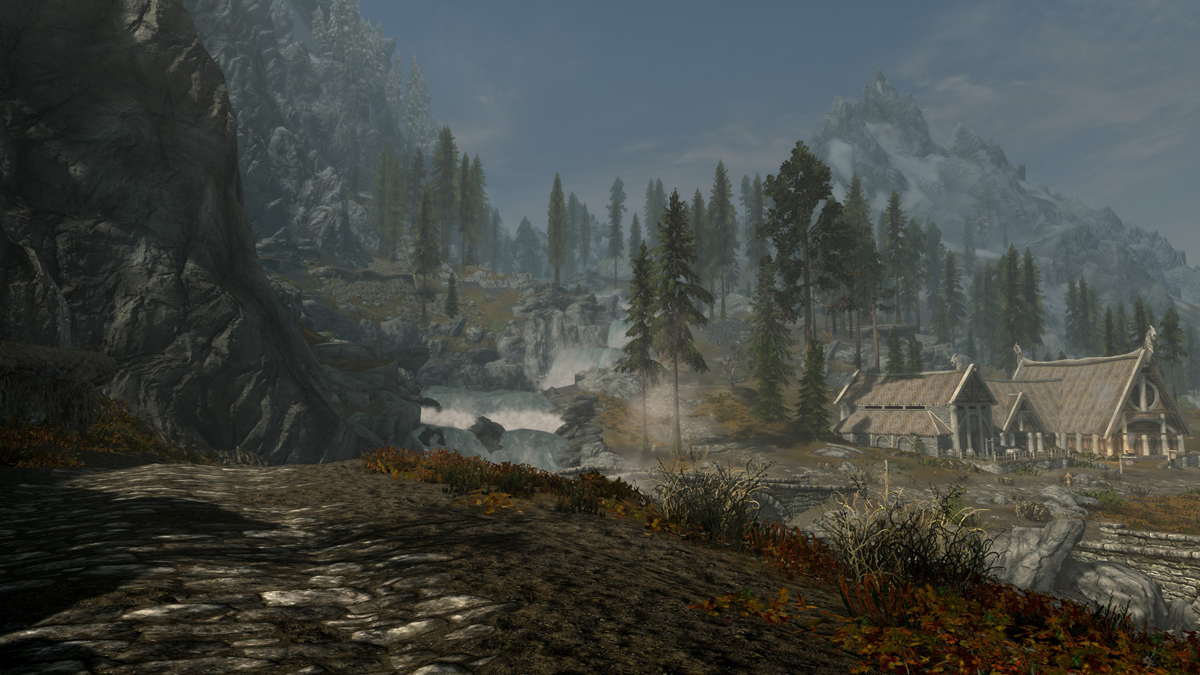
I’m also excited that waterfalls now appear animated from farther distances! Fewer ugly frozen falls! Even though SE isn’t about fixing bugs (wolf howl still missing), Shrine of Azura is visible from Sarthal, which in original game required LoD fix.

New Toys: Microsoft and Apple
This week Microsoft announced the Surface Studio desktop with multi-touch screen, and Apple introduced the latest MacBook Pro with new “Touch Bar” and fingerprint ID. It seems Apple remains content to gradually iterate devices and focus on thinner and lighter, and Microsoft has been getting into the try-new-things and polish-old-ideas phase. I’d say Microsoft wins the cool-tech award for 2016.
MS Surface Studio
Remember that Surface Table from several years ago? This desktop features a touch screen that folds down into table mode for working with a Surface Pen for creating art, drafting, handwriting, anything that benefits from hands-on input and manipulation. Go read what the Penny Arcade artist, Gabe, has to say about working with the Surface Pro. When asked to compare with another device, Gabe said, “drawing on the Cintiq now felt like drawing on a piece of dirty plexiglass hovering over a CRT monitor from 1997.”
The Surface Studio includes mini DisplayPort, SD card slot, Surface Pen, Surface Mouse, and Surface Keyboard. The 28-inch display uses a “Zero Gravity Hinge” to easy repositioning. If nothing else, it looks cool.

image from microsoft.com
MacBook Pro 2016
Today Apple showed off the updated MacBook Pro for 2016. As always, thinner and lighter. The new “Touch Bar” is a touch-screen row of function keys that remap per application. To see normal function keys, hold down the Fn key. Making room for smaller, thinner, and a super big trackpad, the keyboard size has suffered. Together without tactile function keys, more engineers and developers may likely choose to carry around an external keyboard.
And don’t forget the dongles. Say goodbye to the SD card slot and MagSafe, and make room for pure USB-C. I always prefered using SD cards over USB sticks due to thinness. Wasn’t MagSafe a big selling feature? The power cord popping out saved my old MacBook at least once.
Check out Ars Technica first hands-on impression of the new MacBook Pro.